View Any Floor Plan in VR
(requires SimpleDraw Plus — just $10 for a year's access)
See what's included in SimpleDraw PlusHow to View a PDF Floor Plan in VR
Here's the steps we followed to create this 3D / VR walkthrough.
Follow the same steps with your own floor plan.
Convert your PDF to PNG
SimpleDraw works with PNG, JPG, and WEBP images. If your floor plan is a PDF, you'll need to convert it first. We recommend using the free tool PDF2PNG to convert PDFs to PNG.
Add the PNG as an image to your floor plan
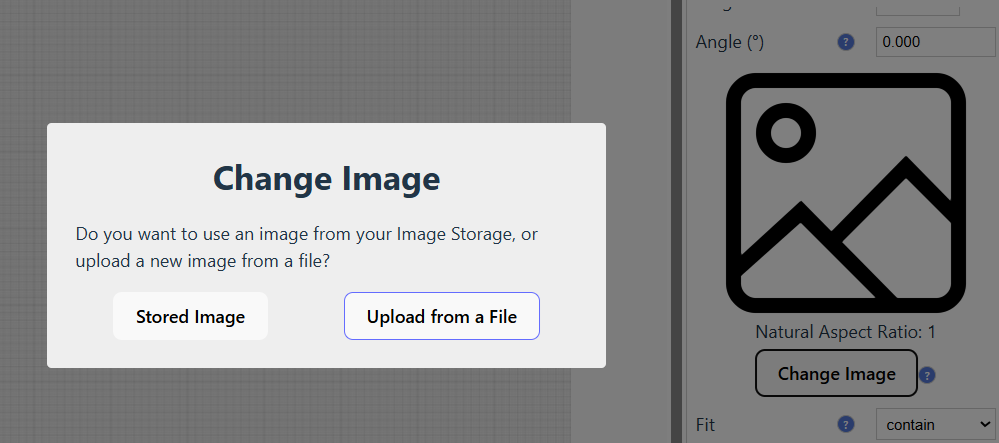
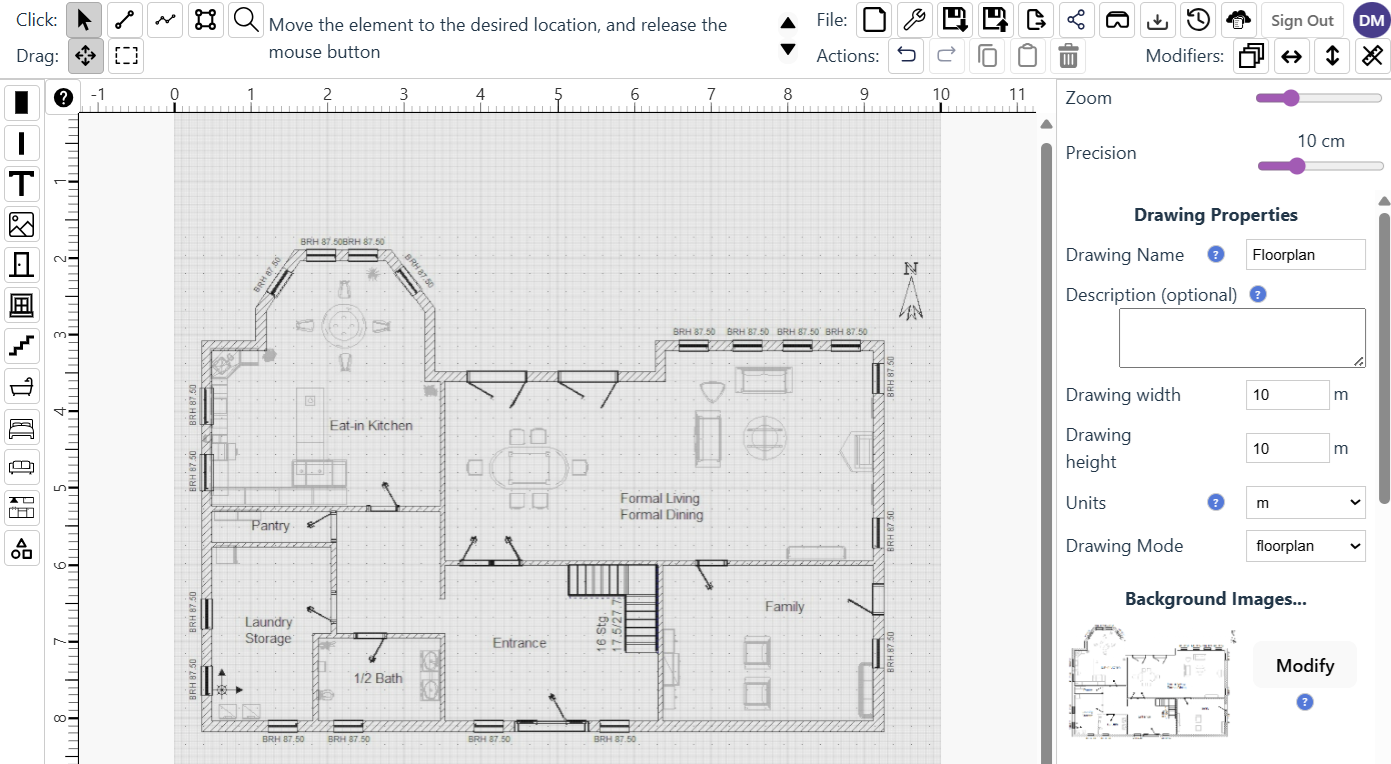
PlusIn SimpleDraw, create a new drawing, selecting "Floor Plan Mode". Select the Image tool, then click anywhere in your drawing to add an image. Now click on the image you added, click on the "Change Image" button in the Properties panel, select "Upload from a File", and select your converted PNG.
Enlarge your image to fill the drawing, and set it to the background
PlusIn the Image Properties panel, scroll down, click on the "Center and Fill" button, and then click the "Send to Background" button. This will center and fill your image to fit the drawing, and set it as the background layer. Don't worry about the scale yet - we'll fix that up next.
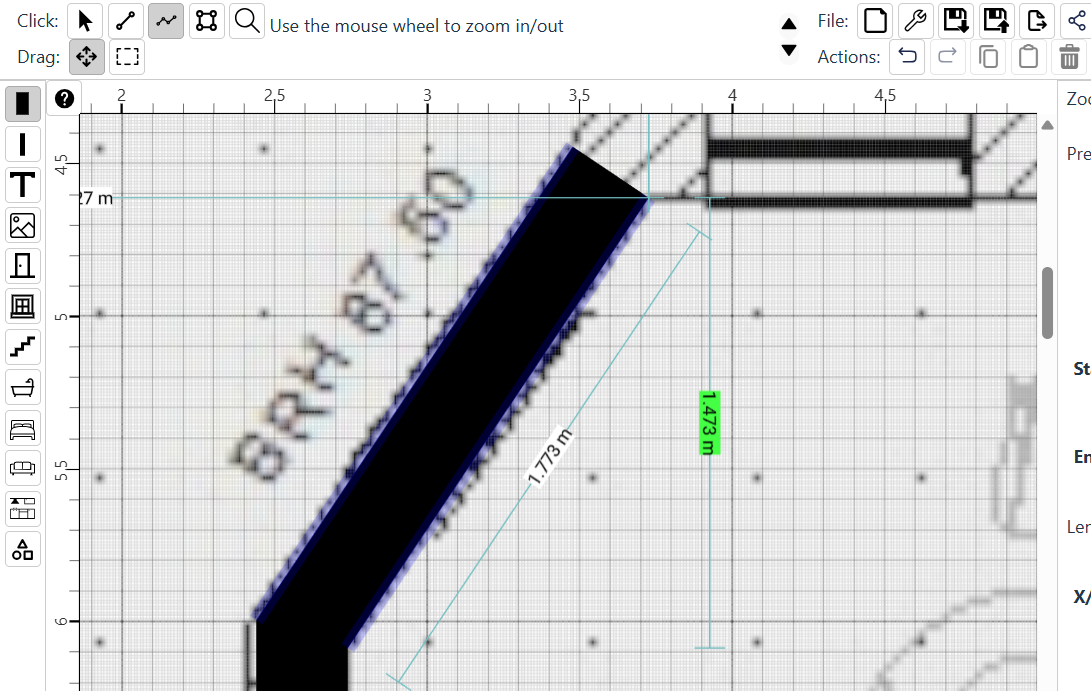
Identify a known length on your drawing
For VR, it's essential that your drawing is at the correct scale. To get the scale right, identify some part of the drawing that is a known length, and draw a line that matches that length. Use Zoom and adjust Precision to get the accuracy that you need. In this example we are using the fact that we know that the door should be 76cm wide (it isn't the right size yet - but it wil be soon!)
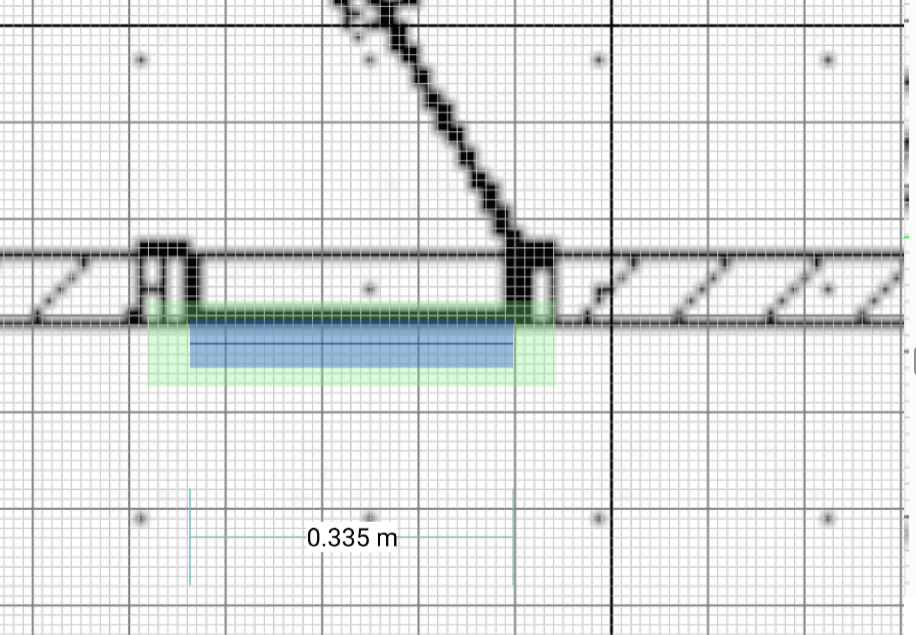
Tip: Most architect drawings include a scale bar — if your drawing has one, use this for the most accurate results.
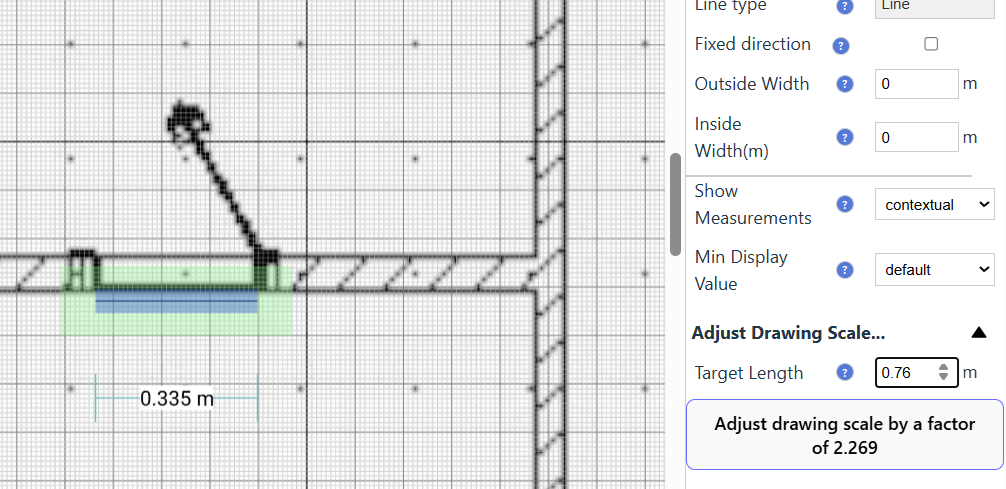
Adjust drawing scale to give this line the correct length
Select the line you just drew, scroll down to the bottom of the Line Properties panel, and the section "Adjust Drawing Scale...". Specify the target length for the line (in this case 0.76m), and then click on the "Adjust drawing scale" button, and confirm the adjustment you want to make. The whole drawing will rescale to the desired dimensions.
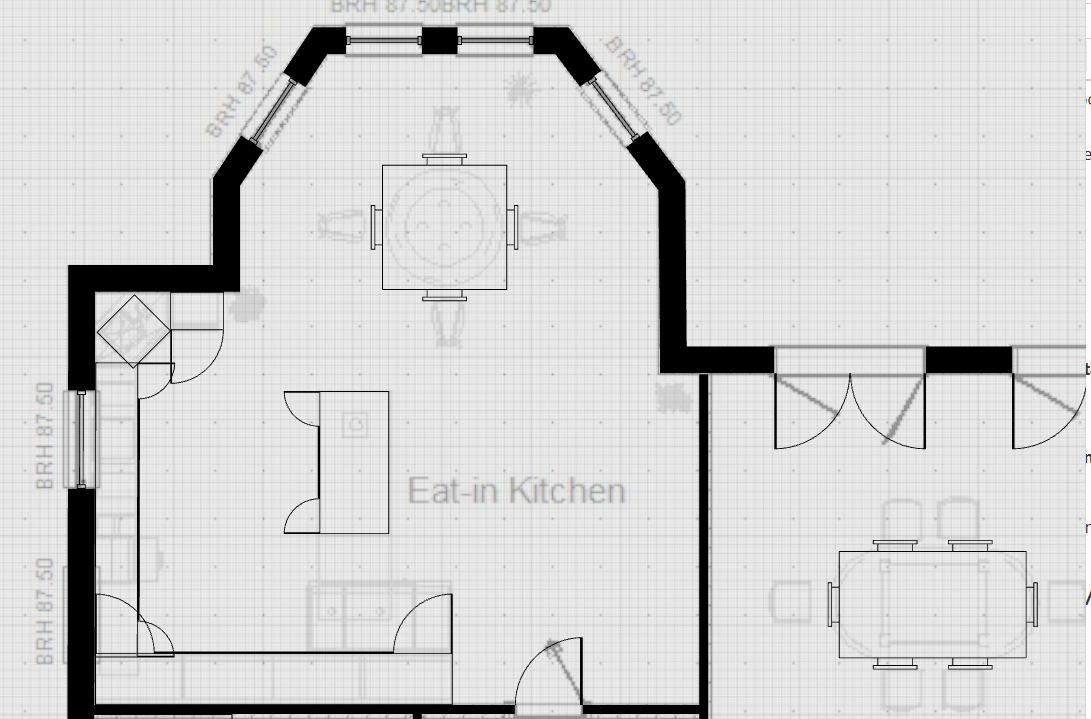
Trace your exterior walls
With your drawing and background now scaled to the correct dimensions we are ready to start tracing. Select the External Wall tool, and the multi-line tool, and trace around the walls. For vertical and horizontal walls, hold the C key down to lock the lines to the vertical or horizontal axes. Adjust Zoom and Precision as needed, to get the accuracy that you need. When you position your mouse near the edge of the drawing window, it will scroll automatically so that you can continue tracing.
Add windows, doors, interior walls and furniture
Use the relevant tools to add windows, doors, internal walls and furniture. Dimensions of items added to the floor plan can be adjusted using the Properties panel, and you can also customize various aspects of the items. We may not have a perfect match for everything, but we are steadily expanding the range of items and customization options, and we are always keen to receive feedback and suggestions via our Discord server.
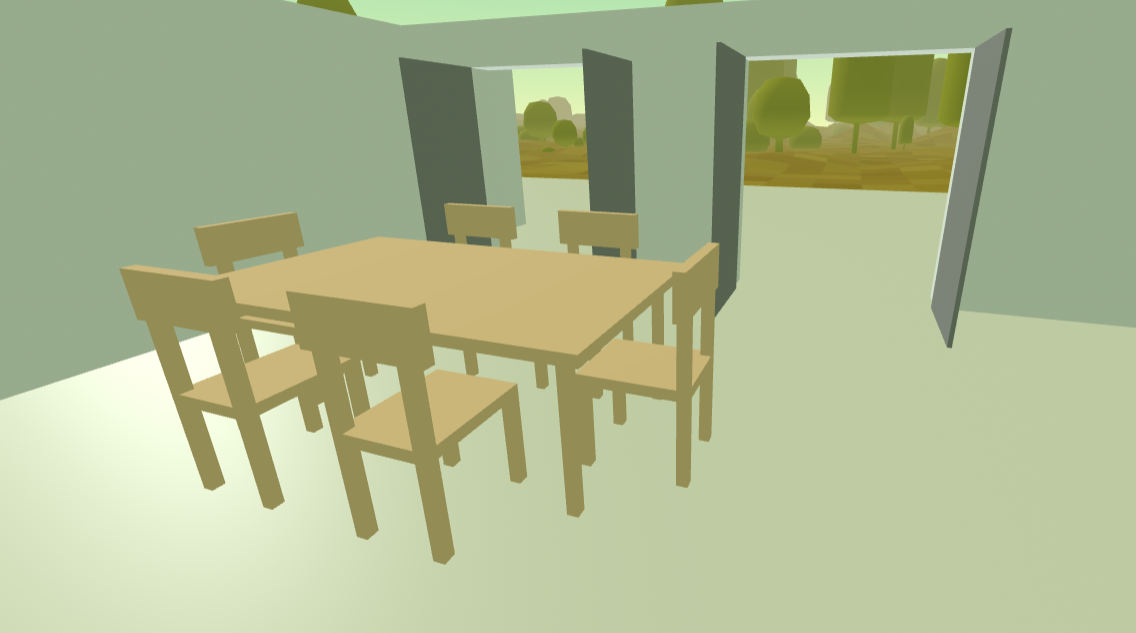
View in 3D or VR
PlusClick the "View in VR" button to launch a 3D Walkthrough. You can open this on your desktop, on a PC VR headset connected to your system, or directly on your Meta Quest headset. For other headsets, you can copy a link and paste it into the browser on your headset.
Continue editing
You can continue editing your floor plan even while someone is in a VR Walkthrough. Any updates you make in your 2D view of the floor plan will appear in the 3D or VR view within a second or two. So you can make changes and get instant feedback from someone viewing them in VR.
Frequently Asked Questions
Everything you need to know about SimpleDraw's free online drawing tools
Ready to create your first floor plan?
Get SimpleDraw Plus